Starting a blog may seem simple, and in many ways it is. Services like Medium and Blogger simplify the process tremendously, and that’s a good thing. However, the more flexibility you want, the more you have to work for it - or pay.
Custom themes, custom formats, no branding? You can try a sort of managed hosting like wordpress.com, but that will cost you money, or lock you to their subdomain. Other traditional PHP based blog softwares require PHP hosting which will cost you money and be expensive at the same time.
Long story short - fast and free blog hosting doesn’t exist. Or does it? Using a Static Site Generator, you can not only host your site for free on a variety of places, it will also almost always be guaranteed to be lightning fast. This is due to the fact that the server does no computation at all while loading a page - it can be served directly from cache.
What is a Static Site Generator (SSG)?
A static site generator is an application which takes simple Markdown formatted text files and generates static HTML, CSS, and JavaScript website files out of them. This means that using a Static Site Generator is easy even for people with little or no web development knowledge at all.
Simply create the markdown files, run a simple CLI command or push to git and watch your CI system do its magic.
Choosing a Static Site Generator
For my blog, I used Hexo, one of the numerous static site generators out there. You can check out a big list here. I chose Hexo for a couple reasons.
- It was coded in node.js/javascript, a programming language I was comfortable with, should I ever want to extend it.
- It is very extensible.
- It has hundreds of themes and plugins.
- It is a very big project, and therefore probably has more support and less bugs.
Creating a Hexo app
The first thing you’ll want to do is create a hexo app on your local computer. Note: This tutorial and these command line arguments made for a Windows computer. If you are using Linux, adapt the commands as necessary.
Installing Hexo for Windows
Start by installing Node.JS. If you don’t have it installed already, you can do so with Chocolatey.
Run the following command in an administrative command prompt (not powershell) to install Node.JS with Chocolatey.
1 | @"%SystemRoot%\System32\WindowsPowerShell\v1.0\powershell.exe" -NoProfile -InputFormat None -ExecutionPolicy Bypass -Command "iex ((New-Object System.Net.WebClient).DownloadString('https://chocolatey.org/install.ps1'))" && SET "PATH=%PATH%;%ALLUSERSPROFILE%\chocolatey\bin" |
Now, close command prompt and open another administrative command prompt window. Run the following command, replacing the directory with the one you wish to install Hexo into, if you want to change it. The following command will install to your Documents folder if left unmodified.
setx HEXO_DIR "C:%homepath%\Documents"
In the same command prompt window, run the following commands.
1 | choco install nodejs |
If you want, at this point you can now check out the template blog by running the command hexo serve and navigating to http://localhost:4000. Once you’re done checking it out, close out the window you ran hexo serve inside of.
Installing a Hexo theme
Now, you’ll want to install a Hexo theme so that your blog isn’t forever stuck with the starter one. The primary Hexo theme repository is here.
The theme I’m using right now is tranquilpeak. Since tranquilpeak has a very handy set of instructions for installing their theme, as do most other themes, I won’t repeat them here.
Writing your first post
Now that you’ve got a theme set up, you’re ready to write your first post!
- Open up Windows File Explorer and click on the top bar.
- Type in
%HEXO_DIR%\source\_postsand press enter.
Press Shift + Right Click and press Open PowerShell Window Here or Open Command Prompt Window Here.
Inside of the command prompt, type
hexo new post "My Post Title"
A new file will appear in the Windows File Explorer window called My-Post-Title.md. Right Click > Open With... and select Notepad or your text editor of choice.
Now it’s time to start writing your post. You can just write a quick test sentence for now, you can get around to writing your actual posts later. Your post file should look like this (don’t copy and paste):
1 | -- |
Hit Ctrl+S and close out of notepad.
Getting your blog online
It’s time to get your blog online. Until now, it’s been sitting on your computer, completely inaccessible to the internet.
Creating a Git repository
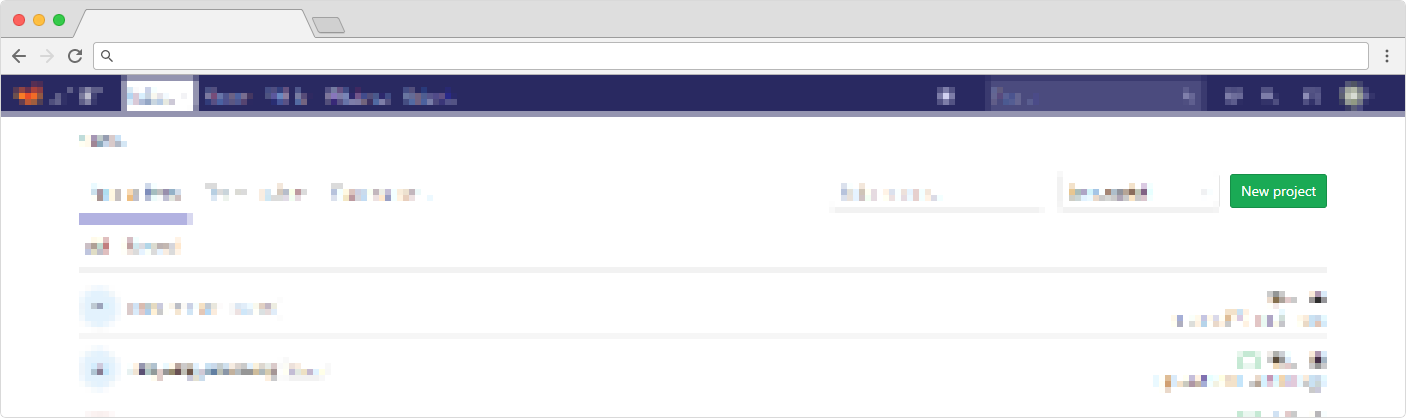
Create a Gitlab account at gitlab.com. Once you’ve created an account, hit the green New Project button. Fill it in with an arbitrary name, set the visibility level to private, and hit the Create Project button.
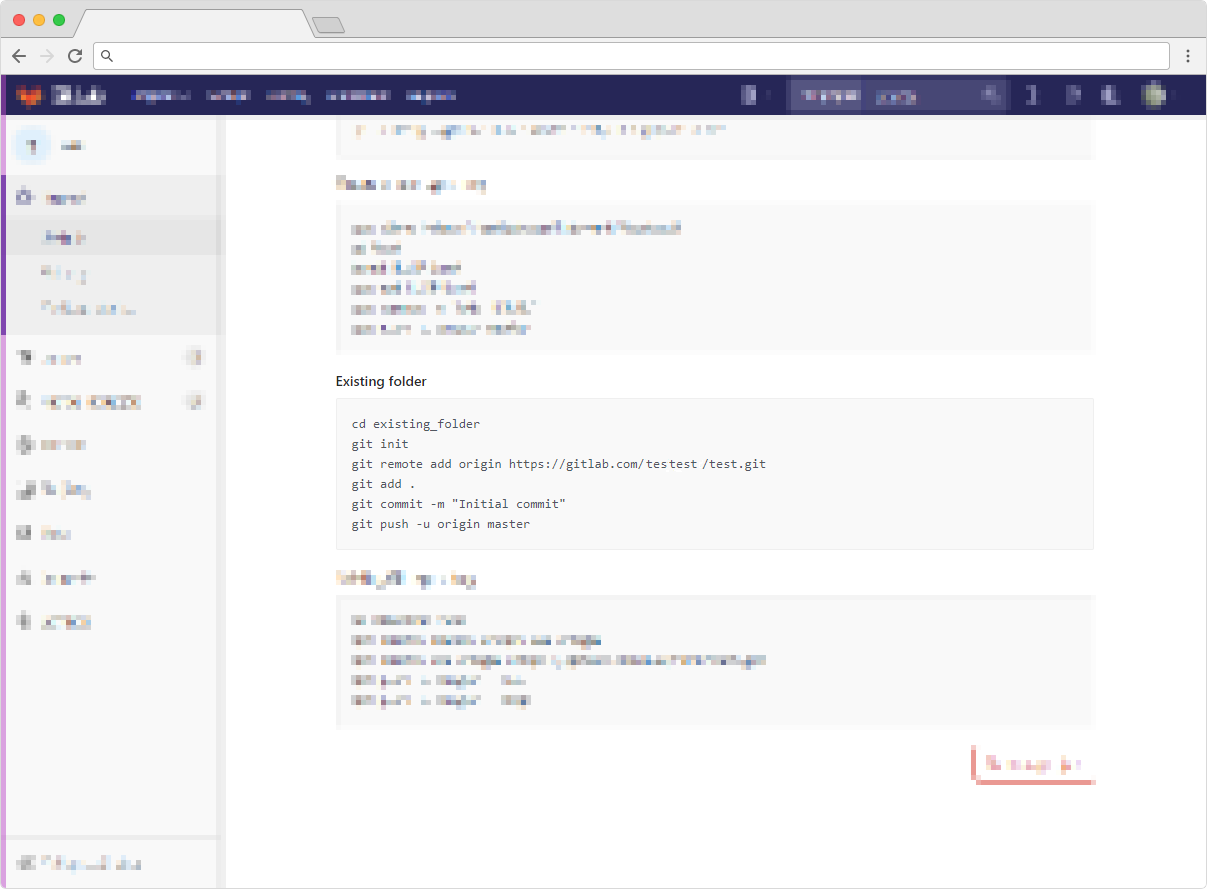
Now, you’ll be on your project page. Scroll down to find the instructions for an Existing folder. Open up your command prompt, and use those commands, but instead of cd existing_folder use cd %HEXO_DIR%.
Creating a Netlify website
- Go to netlify.com and create an account using the Gitlab account you created previously.
- Browse to app.netlify.com and press
New Site from Git - Select
Gitlabas your Continuous Deployment Provider - Select the repoistory you created on Gitlab previously
- Type
hexo generateinto Build Comand - Type
publicinto the Publish Directory - Press Deploy
Congratulations! You will be directed to an overview page, where your site’s URL should be displayed. If you click on the URL and nothing happens - don’t worry! It will take 30-90 seconds for your site to deploy.
Want to rename your subdomain?
- Go to app.netlify.com
- Select your website
- Click
Site Settings - Press
Change Site Name - Edit the site name
- Press
Save
Custom domain
If you want a custom domain, no worries, it’s simple!
- Go to app.netlify.com
- Select your website
- Press
Domain Settings - Press
Add Custom Domain - Type in your domain name
- Press
Save - Now, CNAME your domain and your www subdomain to the
.netlify.comdomain - Done!
Publishing more posts
You might be wondering how you’re supposed to publish more posts - and if you’ve never used git before, that’s a great question!
Let’s go back to your computer.
- Open up Windows File Explorer and click on the top bar.
- Type in
%HEXO_DIR%\source\_postsand press enter.
Press Shift + Right Click and press Open PowerShell Window Here or Open Command Prompt Window Here.
Inside of the command prompt, type hexo new post "My Other Post Title"
You know the drill. Put some more generic text into it, and now we’re ready to publish your second post!
Inside your powershell / command prompt window, type the following commands to update your online blog
1 | cd %HEXO_DIR% |
That’s it! After 30-90 seconds, your blog online should reflect those changes.
Tip: If you want to preview your changes before you publish them, don’t run those last 4 lines quite yet. To preview your newest posts locally, type hexo serve and navigate to localhost:4000 instead.
Thanks for reading! If you enjoyed the post, be sure to share it with all who you think would enjoy it as well. Leave a comment if there’s something you want me to know.